Stucco has been a popular exterior finish for centuries, thanks to its durability, energy efficiency, and aesthetic appeal. However, achieving a long-lasting and flawless stucco installation requires careful planning and execution. Whether you’re a homeowner looking to upgrade your property or a contractor preparing for a project, following the correct installation process is crucial. Below, we break down the key steps for proper stucco application to ensure a resilient and beautiful exterior for your home.
Step 1: Preparing the Worksite Properly
Before applying stucco, the worksite must be properly prepared to create a safe and efficient environment. Scaffolding is first set up around the building to meet OSHA standards, ensuring a secure platform for workers. This scaffolding remains in place for the entire project, providing access to all areas that require stucco application.
Next, the old stucco (if applicable) is carefully removed, along with any underlying wire lath and waterproofing layers. This process typically starts from the top of the wall and moves downward to prevent damage to lower sections. Once the old material is stripped away, any internal repairs—such as fixing water damage or reinforcing the structure—are completed.
Worksite Cleanup
A clean worksite is essential for a smooth stucco application. After removing old materials, debris is cleared to prevent obstructions during the next steps. Proper disposal methods are followed to maintain environmental responsibility and safety.
Step 2: Protecting Against Moisture and Temperature Damage
Stucco is highly durable, but without the right moisture barriers, it can become vulnerable to water damage. A high-quality weather-resistant barrier (WRB) is applied to the exterior walls before stucco is installed. This barrier, often made of asphalt-saturated paper or house wrap, prevents moisture from penetrating the structure.
Additionally, a metal wire lath is securely fastened to the wall over the WRB. This provides a strong surface for the stucco to adhere to, ensuring better durability. Proper installation of these layers helps prevent cracking and reduces the chances of internal water damage over time.
Stucco performs best in moderate temperatures, so it’s important to plan installation when conditions are ideal—typically between 50°F and 80°F (10°C – 27°C). Extreme heat or cold can cause the stucco to dry too quickly or set improperly, leading to cracks and structural issues.
Step 3: Applying the Three-Coat Stucco System
For long-lasting results, a traditional three-coat stucco system is the recommended application method. This method provides a thick and durable finish that can withstand harsh weather conditions.
1. The Scratch Coat
The first layer, known as the scratch coat, is a cement-based mixture applied to the wire lath. It is about ⅜ inch (9.5 mm) thick and is roughened with a scratching tool to create a textured surface for the next layer to adhere to. This coat is left to cure for 48 to 72 hours before proceeding.
2. The Brown Coat
The second layer, the brown coat, is applied over the scratch coat at a thickness of about ⅜ inch (9.5 mm). This layer smooths out imperfections and adds additional strength to the stucco system. It is leveled with a trowel to create a flat surface, ensuring a uniform final appearance. This coat typically requires 7 to 10 days to cure properly.
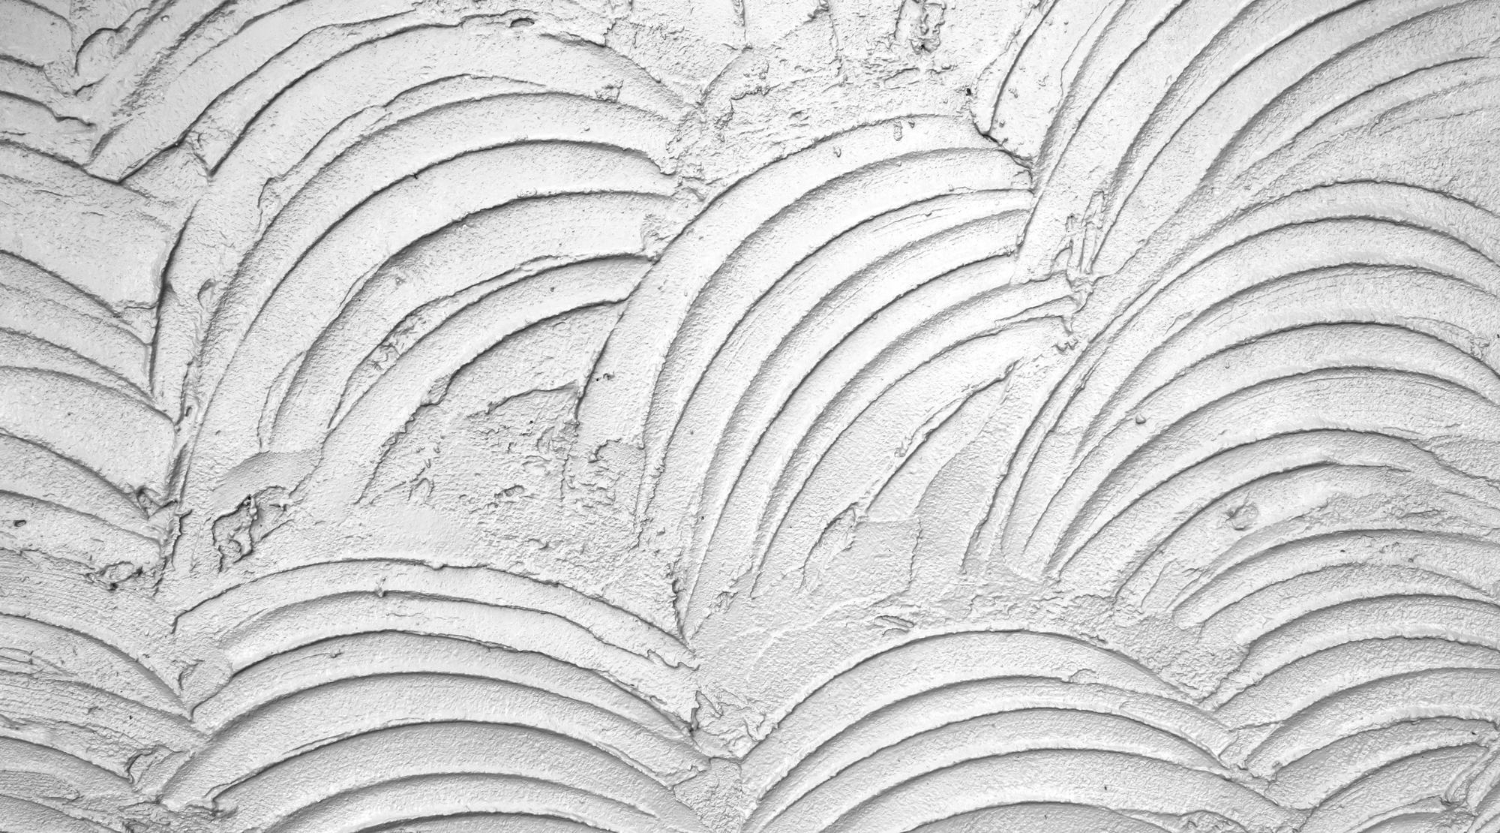
3. The Finish Coat
The final layer, known as the finish coat, determines the aesthetic look of the stucco. This layer is about ⅛ inch (3 mm) thick and can be customized with different textures and colors to match the homeowner’s preferences. Common finish styles include smooth, rough, or sand-textured stucco.
Step 4: Curing and Sealing for Longevity
Proper curing is essential for a strong and crack-resistant stucco finish. The curing process can take 21 to 28 days, during which the stucco should be kept slightly moist to prevent premature drying. Spraying the surface lightly with water during the first 48 hours helps achieve the best results.
To further protect the stucco, a high-quality sealant or stucco paint is recommended. This enhances moisture resistance and extends the lifespan of the stucco finish. Sealing should be done approximately 30 days after installation to allow for full curing.
Conclusion: Achieving a Successful Stucco Installation
When installed correctly, stucco can last 50+ years with minimal maintenance, making it one of the best choices for home exteriors. The key to a successful stucco installation is following a structured process—starting with proper site preparation, ensuring moisture protection, applying a durable three-coat system, and allowing sufficient curing time.
If you’re considering stucco for your home, hiring a professional with experience in proper installation techniques is highly recommended. A well-applied stucco finish not only enhances the curb appeal of your home but also provides long-lasting durability against the elements.


